Short links; they’re all the rage, amiright? There are a ton of services out there; Goo.gl and Bitly.com just to name a couple popular ones. Not only do they provide the link shortening, but they also give you some analytics so you can see how many clicks you got on your short url and where they came from. The only problem with using a service, though, is you don’t have much control. You’re also sharing links that everyone else using that same service is sharing.
I came across the open-source YOURLS site. It pretty much consists of a few PHP scripts that allow you to run your own link shortening service on your domain. I played around with it on one of my test servers to see what was involved and was impressed with the simplicity. It took me about 20 minutes to get everything setup and functioning.
Alright, let’s get to it.
Setting up a link shortening service on your own domain
Before we get started, here’s a list of things you’re going to need:
- A server
Somewhere to store the files. This can be a shared hosting provider or a dedicated VPS. As long as you have SSH (or SFTP) access, you should be good to go. - Access to a MySQL database
The YOURLS scripts store all the juicy bits in a database. - A domain
You’ll likely want to have a short domain given the topic but anything will work, really.
Once you have those, let’s get to the fun part.
Download YOURLS
Head on over to yourls.org/download, download the zip file and unzip those files on to your server. Since the idea is to shorten the link, you’ll want to put the files on the root of the server. If you want to use the root domain directory for something else, you can always throw the YOURLS files in a sub-directory. Something like http://yourdomain.com/s/ would work pretty well.
Create the MySQL database
Create a database for your service. The database is going to store the urls (long and short) and the analytics data.
Modify and rename the config file
In the /user directory, there’s a config-sample.php file. This is the file that stores all the information about connecting to your MySQL database. You’ll want to add the connection information to this file. In this same file, you’re going to add a user. This is the login information you’re going to use to access the admin area (see below!) to create the shortened urls. Once you’re finished with all this, rename the file to config.php.
Install!
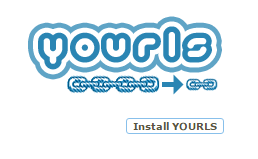
Head on over to http://yourdomain.com/s/admin (if you went for the second route) and you should be greeted with the very basic YOURLS install script. 
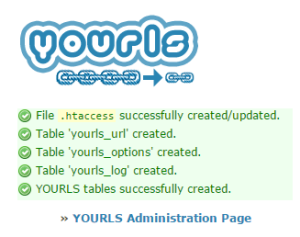
This is the script that is going to connect to your database, setup the tables and install what it needs to run the service. After clicking the install button, the install script should show you that it has finished setting itself up in the database and will give you a link to access your YOURLS administration page.

Shorten!
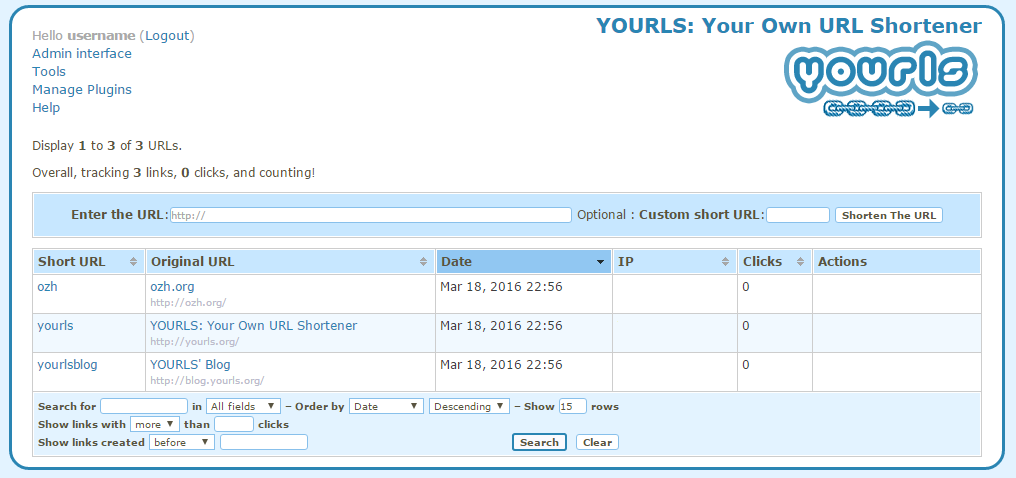
Here’s the fun part. The interface is pretty basic but includes everything you would need. Enter in a url to shorten and click the button. Your new url will be added to the list and the actions column will show you the tasty analytics data as soon as people start clicking on your shortened url.

Looking for more fun?
If you’re looking for more adventurous ways to use your shiny new link shortening service, check out the YOURLS API documentation section.
Something not quite right?
Let me know if I missed a step or if there is another roll-your-own url shortening software out there I should try.