Recently, I needed to setup a backup of a client’s WordPress site to verify a core upgrade wouldn’t bork their out-of-date installation. I figured it’d also be a pretty good verification of the backup process I have in place. To get this done, I used the latest version of XAMPP and a backup of the WordPress files and MySQL database.
I took a backup of the WordPress files and the dump of the MySQL database and got to work.
- Download and install XAMPP.
- You’ll want to pick the installer for the operating system that you have but the process should largely be the same. I did the same install on both Mac OS and Windows.
- Start Apache Web Server and MySQL Database.
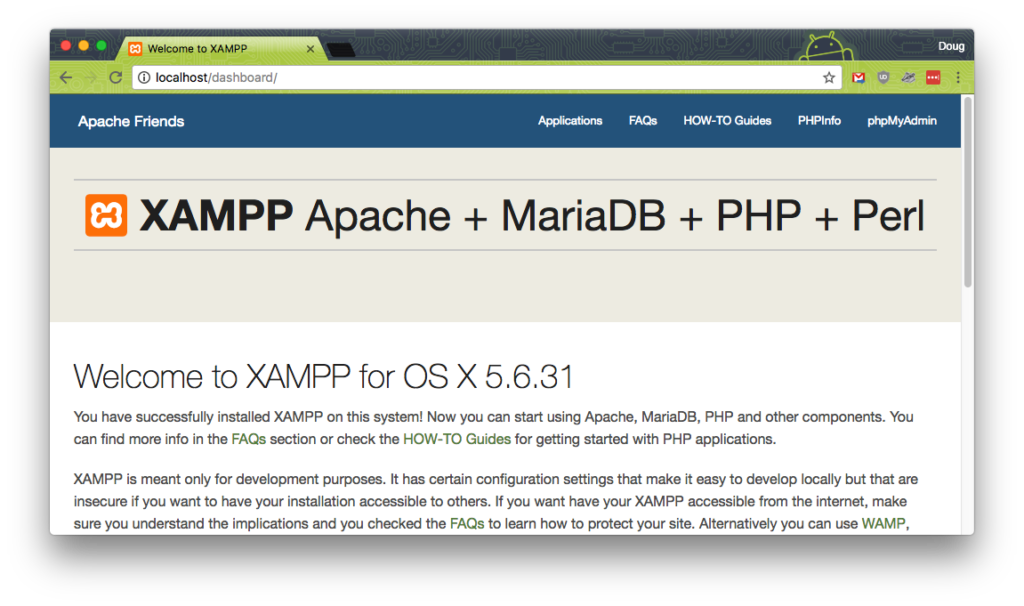
Once the servers are running, you should be able to open up your favorite browser and hit http://localhost. If everything is working you should see a ‘Welcome to XAMPP’ page.
Now that you’ve got the servers up and running, it’s time to import your WordPress site.
Copy the site’s WordPress files
Head over to the location where XAMPP got installed. On the Welcome tab of the XAMPP interface, there’s a Open Application Folder button that will conveniently take you right where you need to go. Once there, you should see a directory called htdocs (note: on Mac, it might be under XAMPP/xamppfiles/htdocs). This is the place where you want to put your WordPress files. I found it useful to add a new folder for the site I’m working on, for example htdocs/MySite/{WordPress Files}. That way, you can run multiple sites and keep them separate. To ease in the next step, use your IDE and open the /wordpress_directory/wp-config.php file. You want to make a note of the name of the database. It should look something like this: define('DB_NAME', 'database_name');.
Now you’ll want to make a couple changes so the WordPress can talk to the local database (more about that in the next step). There’s 3 values you’ll want to change:
define('DB_USER', 'databaseUser');todefine('DB_USER', 'root');define('DB_PASSWORD', 'somepassword');todefine('DB_PASSWORD', '');define('DB_HOST', 'someHost.yoursite.com');todefine('DB_HOST', 'localhost');
Copy the site’s MySQL database
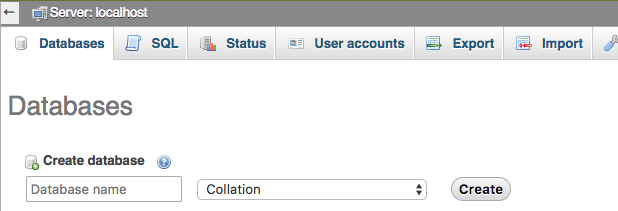
Next is the database. Since the MySQL server should be running, go to http://localhost/phpmyadmin in your browser and you should see the phpMyAdmin interface. Click the New link in the left pane. The interface will allow you to enter a name for the database, enter the name from the previous step and click the Go button.
After the database is created, you should see it listed in the top navigation: Server: localhost, Database: database_name. With the database now selected, click the import button on the top bar. Click the select button, find your MySQL dump file and click Go. After a few seconds, the page should refresh and you should see all your WordPress tables in the left pane.
Next, we’ll want to update the WordPress site and home URL’s in the WP_OPTIONS table. Update them to show your local address (http://localhost).
View the WordPress site locally
Once all that is done, you should be able to just head to your local address followed by the directory you put your WordPress files in. For example: if you put the files in htdocs/MySite, then you’ll want to go to http://localhost/MySite. If everything worked, you should be looking at your WordPress website locally.
Problems and gotchas
I’ll revisit this section and update with some gotchas I ran into while setting this all up locally.

